Depending on your needs and the number of templates you have, you may optionally want to use categories in your library. Custom Library uses the built-in template category taxonomy in templates, but first you will need to enable categories in settings. Here’s how to do it:
Enable categories display in Settings
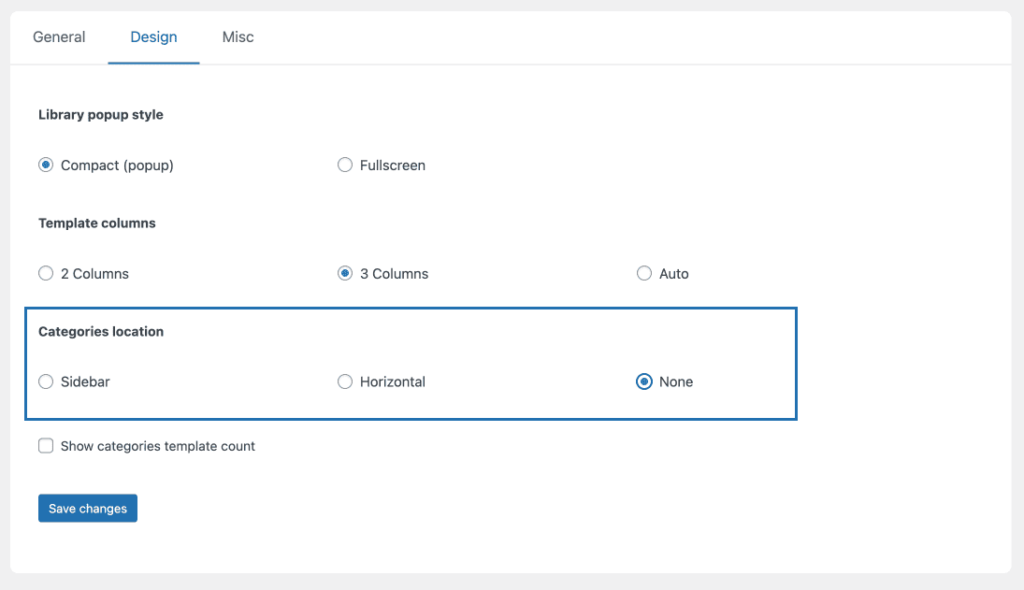
Go to Custom Library \ Settings and under the “design” tab, choose the location of the Categories.
- None: No categories will be shown
- Sidebar: Categories will be shown in a sidebar
- Horizontal: Categories will be shown in a horizontal bar at the top of the library
Additionally, You can optionally check the checkbox below, to display the number of templates next to each category.
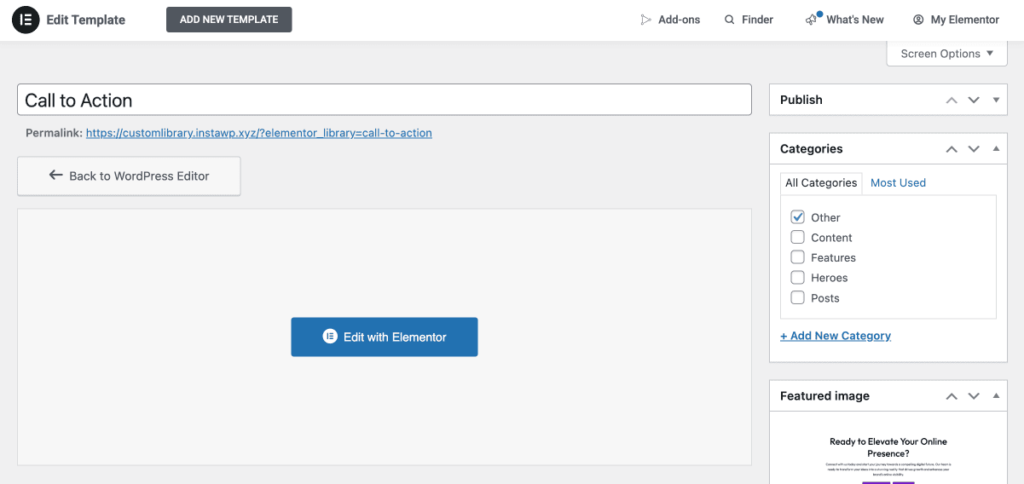
Creating and assigning categories to the templates
As mentioned, Custom Library uses the default Elementor template category taxonomy. You can view these categories or add new under Templates \ Categories.

To assign template into a category, simply select the category at the related metabox that is available in the sidebar of the template single page. You can also quickly create new categories through this metabox.