There are four ways to add a template or section to your Custom Library. Use whichever fits your current workflow.
Option 1: Right-click a container (quickest)
In the Elementor editor, right-click any container and select Add to Custom Library from the context menu. Enter a name for the template and confirm.

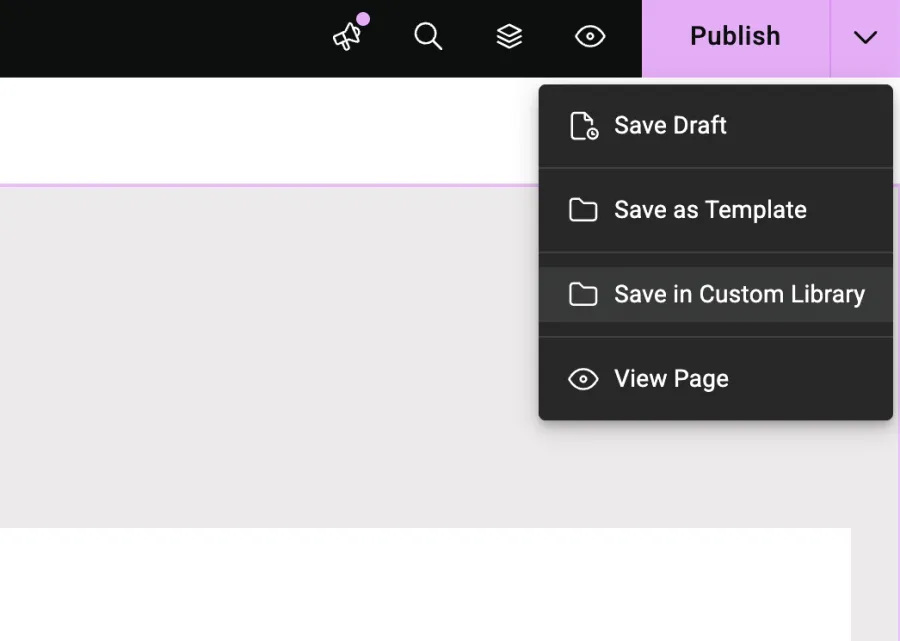
Option 2: Publish button dropdown
In the top-right corner of the editor, click the down arrow next to the Publish button. Select Save in Custom Library from the dropdown, then give your template a name.
Option 3: Save As Template popup
When saving a template or section via the Save As Template dialog, check the Add to Custom Library checkbox before confirming. This adds it to both Elementor’s saved templates and your Custom Library in one step.

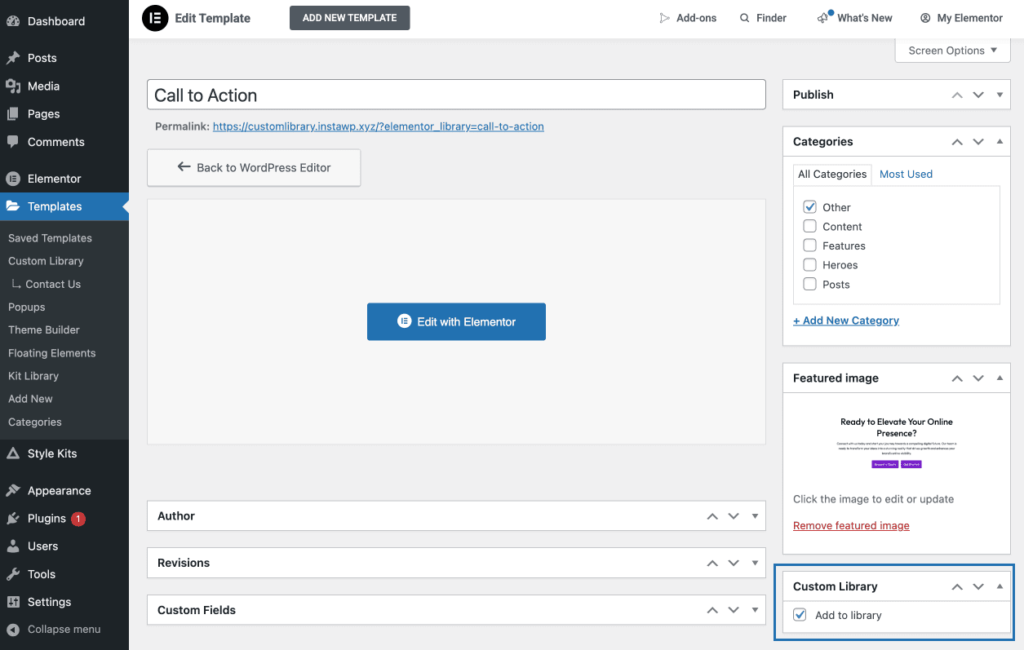
Option 4: From the template’s page in wp-admin
Go to the saved template’s page in the WordPress admin. In the Custom Library metabox on the right sidebar, check the Add to Library checkbox and save.
After adding new templates, open your Custom Library and click the Sync button to make them appear.